
TAILORSCAN RESEARCH JOURNAL / INDUSTRIAL SYSTEMS / OCTOBER 26, 2026
A snapped plastic clip may be printable. A safety-critical component is a different engineering problem. Learn the distinction before spending.
Disclosure: This article contains Amazon and Udemy affiliate links. If you purchase through them, we may earn a commission. Prices and availability can change. Product photos illustrate categories, not necessarily the item sold by the linked seller.
A little plastic clip breaks. The appliance still works, but the manufacturer sells only an expensive entire assembly. A bracket has vanished from a ten-year-old workshop tool. The replacement might be discontinued. A home 3D printer sounds like an escape hatch: measure the old part, model a replacement, and print it in an afternoon.
Sometimes that really is the right approach. Sometimes the printed part is weaker, hotter, more flammable, less dimensionally stable, or less safe than the original. The useful skill is not simply knowing how to print. It is knowing how to decide.
Interest in desktop 3D printing is substantial, although search estimates vary. RisingTrends’ October 2026 hobby list estimates roughly 1.5 million monthly searches for the broad term "3d printer" and year-over-year growth; Next Big’s home-printer trend tracking independently reports strong interest growth. These are third-party search-intelligence models, not audited Google Search Console traffic or a forecast that this article will rank. For a repair-oriented publication, the opportunity is to answer the second question shoppers ask: "Can this machine actually solve my problem?"
The first decision: repair part or safety component?
Start by classifying what the failed part does. A decorative panel cover, drawer organizer, vacuum-hose adapter, dust-collection port or cable-routing clip is different from a mains-voltage connector enclosure, a brake component, a structural ladder fitting, a pressure-vessel part or a high-temperature heater mount.
Good candidate: a non-structural part with accessible dimensions, low temperatures, no direct electrical hazard, low consequences if it breaks, and a replacement you can inspect. Useful examples include a missing knob for a low-torque control shaft, a spacer on a hobby jig, or a custom holder for hand tools. Check that a failure would not cause injury, property loss or a hidden secondary failure.
Poor candidate: a part that carries a person, retains safety-critical forces, forms an electrical insulation or flame barrier, interfaces with a pressurized system, or must comply with a certification. Desktop FDM printing is not equivalent to the original injection-molded material merely because the shapes look alike. If the part has a safety standard, the correct repair path may be an OEM replacement or professional service.
This is not a rejection of additive manufacturing. Certified engineering systems can produce demanding parts under controlled materials, processes and validation. That capability should not be projected onto an untested home printer.
The real repair workflow: measure, model, trial, test
A sensible first project is a removable spacer or clip for a non-safety-critical workshop organizer. Measure its outside dimensions, hole centers and clearances using a caliper. Record whether it snaps, bends, rotates or must support weight. Draw a parametric CAD sketch instead of stretching a random file until it looks close.
Print a cheap low-risk prototype to test the fit. Look for elephant-foot bulging, undersized holes, fragile thin walls and friction points. Change the model rather than assuming every error can be fixed by turning up nozzle temperature. Pay attention to the direction of printed layers: a load trying to peel layers apart is not the same as an in-plane load. A design that survives being squeezed by hand may still fatigue after a few hundred cycles.
For a part you intend to rely on, record the model revision, material brand and formulation, orientation, slicer settings, test outcome and date. That miniature manufacturing history turns a one-off lucky print into a repeatable process.
These Amazon links open product-category searches, not endorsements of individual listings. Compare printer specifications, materials, safety and seller terms before purchasing.
First decisions: printer and measurement
Beginner-friendly FDM 3D printers
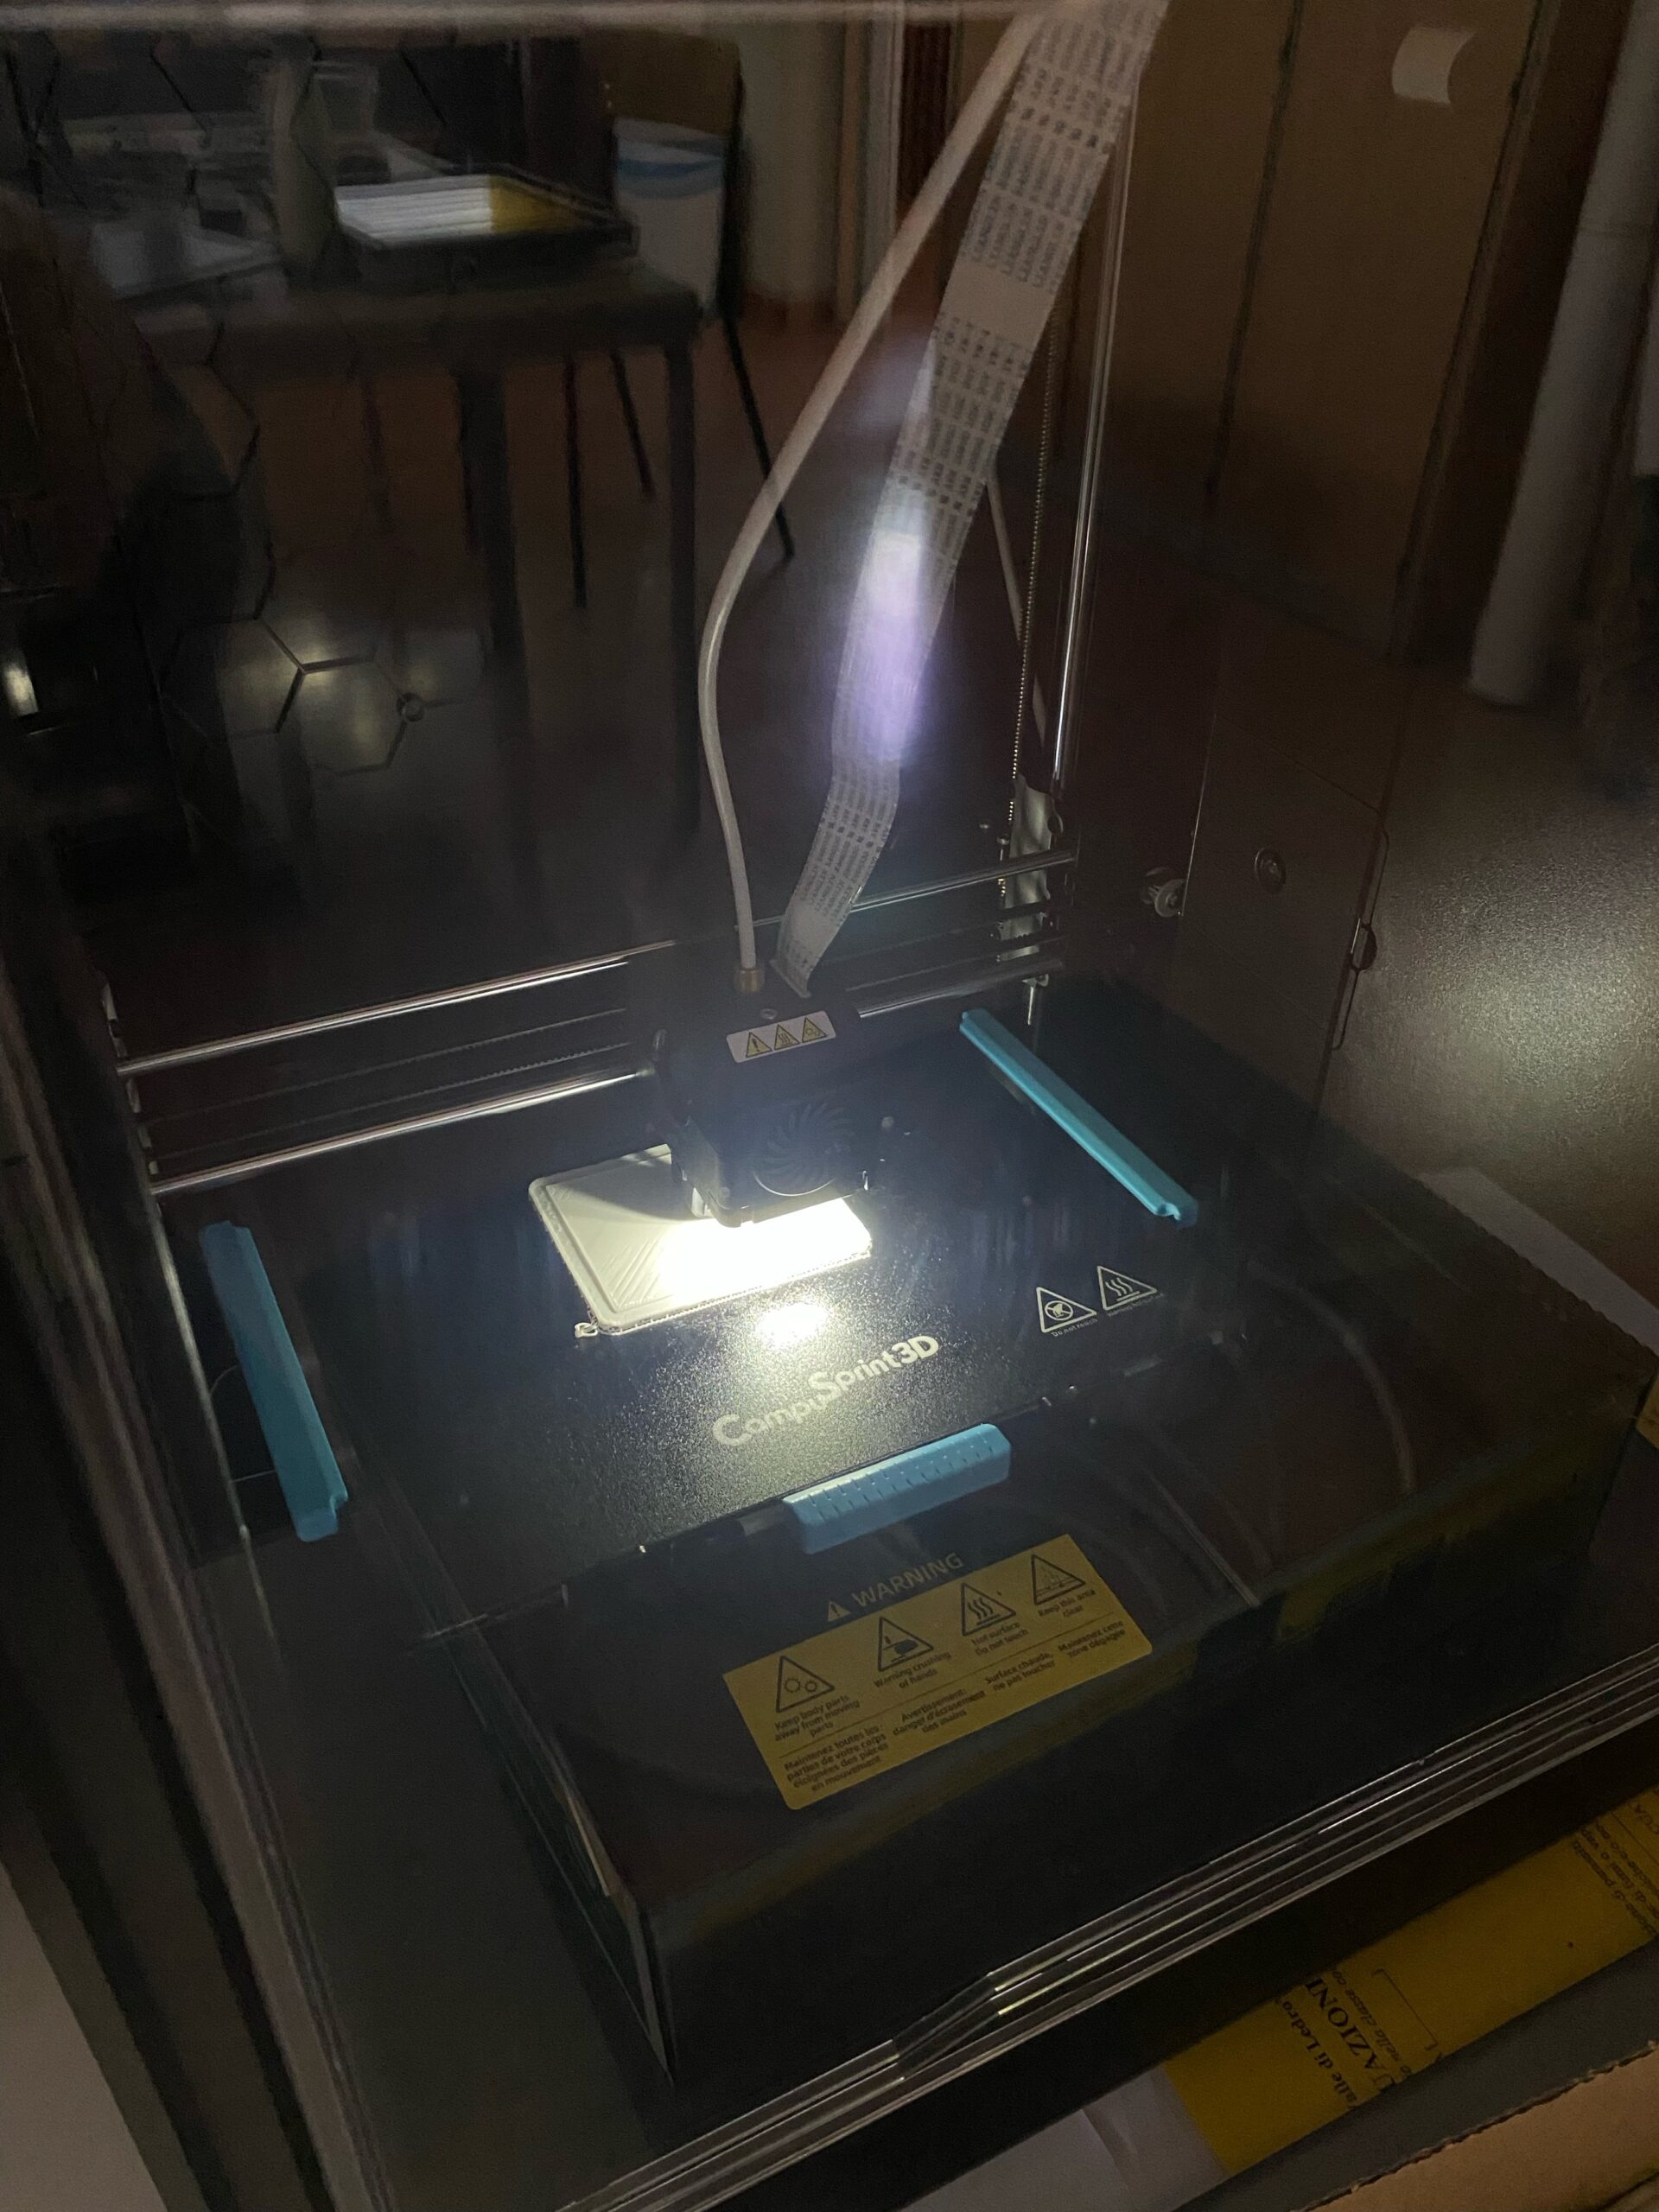
compare supported materials, accessible maintenance, enclosure ventilation options and genuine local support instead of choosing by advertised print speed alone.
Paid Amazon Associates category search · independent item verification required
150 mm digital calipers

for measuring real-world clearance and hole dimensions. A caliper is not automatically a metrology certificate; check resolution and repeatability.
Paid Amazon Associates category search · independent item verification required
PLA, PETG, ABS and ASA are not interchangeable
The most accessible material, PLA, is useful for prototyping, nonheated decorative parts and simple low-stress fixtures. That does not make it the best final material for a component left in a hot car, next to a motor or under sustained load. Printer settings, geometry and formulation affect results, and different vendors can sell meaningfully different blends under the same broad material name.
PETG is often a practical second material for workshop prints. Prusa’s material guidance describes it as relatively tough and suitable for many holders, clamps and printer components; it commonly has stronger layer adhesion than an equally casual PLA print. But "PETG" alone does not guarantee chemical compatibility, UV life, dimensional stability or safe load capacity. An apparently durable bracket can still crack where screw preload concentrates stress.
ABS and ASA may offer advantages for certain hotter or outdoor conditions, but bring different printability, emissions and enclosure demands. Nylon and fiber-reinforced filaments add further complications, including moisture handling and abrasive effects on nozzle hardware. Start with the part’s failure mode and environment, then choose material. Don’t buy an exotic spool to solve a problem that is actually bad geometry.
The material datasheet, if available, matters more than an influencer’s claim that one plastic is universally stronger. Even published numbers from standard specimens may not describe a specific home printer’s layer-oriented part.
A useful repair-or-replace calculation
Put the printer’s price to one side if you already own it. For each possible repair, estimate filament used + failed-print allowance + electricity + consumables + design time + finishing time + verification time. Compare that total against an actual supplier quote and the consequence of failure. This is a decision-support calculation, not an assurance that a printed repair is legal or safe.
Consider an illustrative decorative bracket. Suppose it uses 35 g of a $25/kg spool: about $0.88 of filament. If the design takes 75 minutes, cleanup takes 20 minutes, and time is valued at $20/hour, labor is approximately $31.67 before energy, setup and repeat prints. The total is not an $0.88 repair. If buying a factory replacement costs $12 and arrives tomorrow, printing is probably a learning exercise rather than a financial saving. If the item is unavailable and low-risk, the design effort may be worthwhile.
A simple local article calculator should accept grams, filament price per kilogram, failed-print multiplier, design/finish minutes, user-defined hourly time value, optional energy and replacement quote. The formula is transparent; the result must never say "safe to print." Use separate red/yellow/green eligibility questions about safety-critical loads, temperature, voltage and certification. Any safety-critical answer overrides favorable economics.
From a broken part to a verified repair
Expand a stage to inspect the engineering decision.
Classify the consequences
Measure and model
Prototype
Test and document
Calculate material and design time
Only for non-safety-critical parts. Manufacturer service remains preferred when failure matters.
Enter costs
Excludes equipment, print failures, shipping, testing and liability. Never print safety-rated OEM substitutes without qualified review.
Material and filament handling
PETG 1.75 mm 3D printer filament
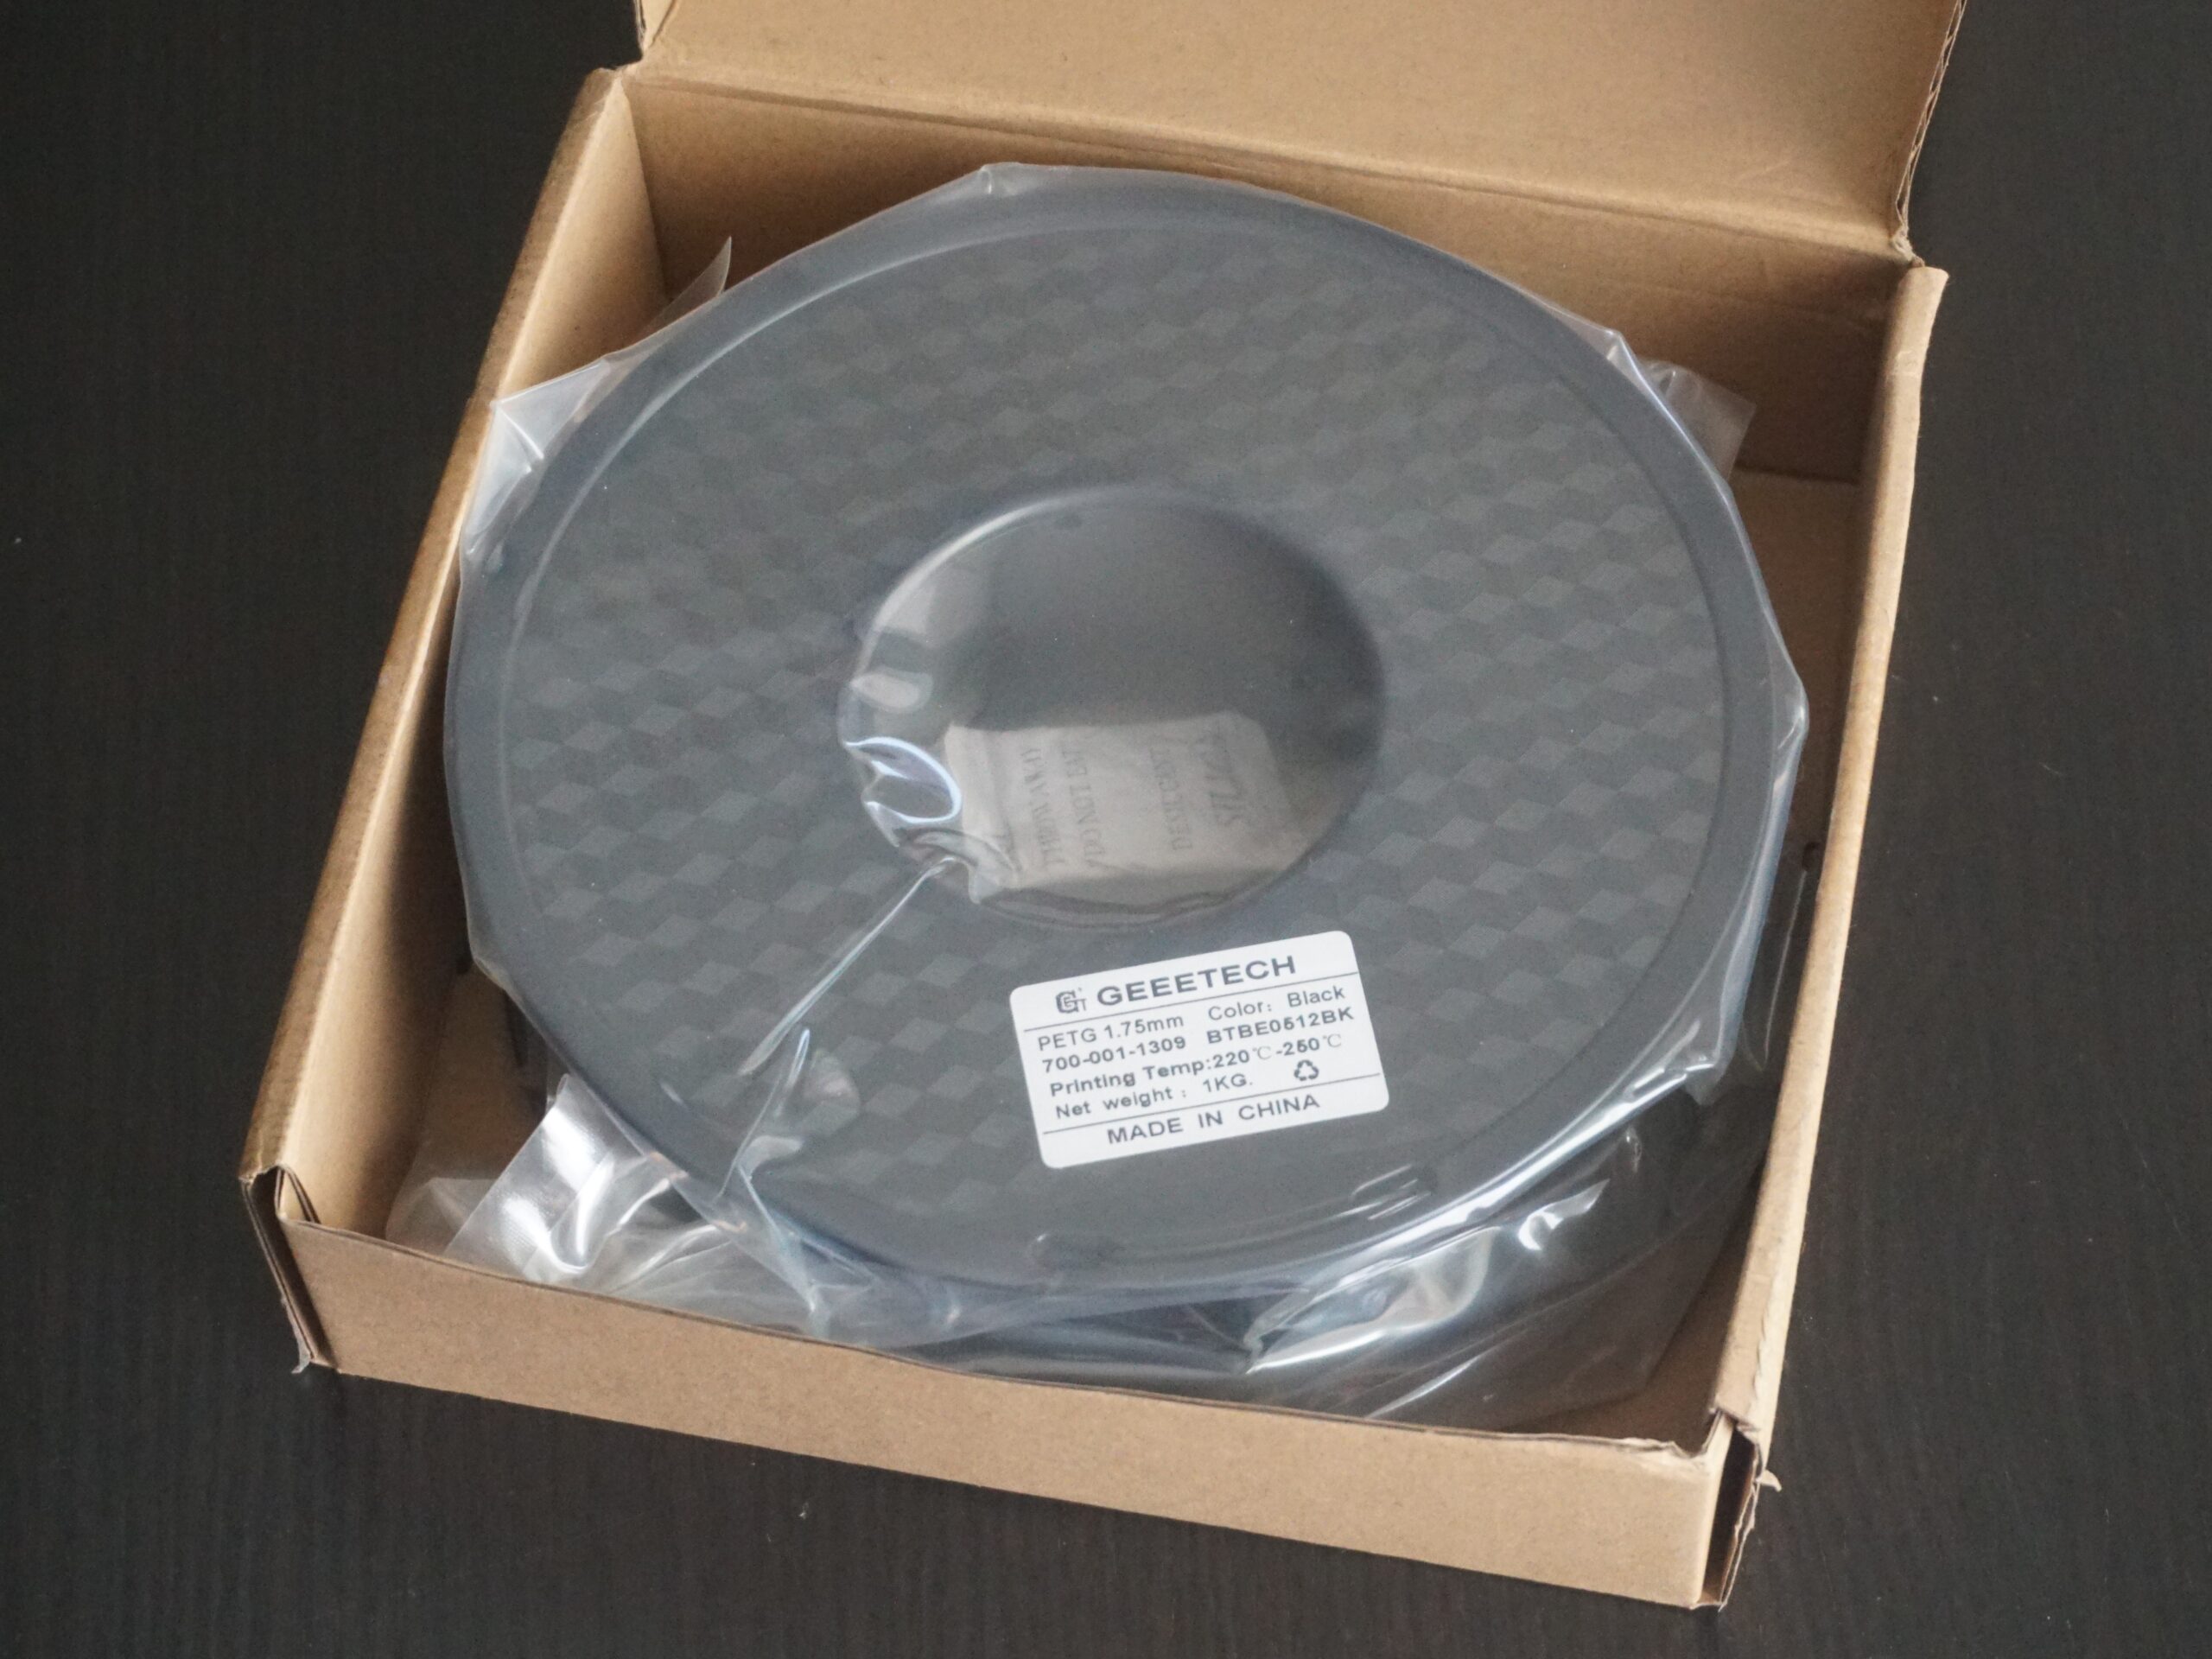
inspect tolerance, recommended drying and printing conditions, spool size and whether the actual formulation has a datasheet.
Paid Amazon Associates category search · independent item verification required
filament dry boxes and dryers
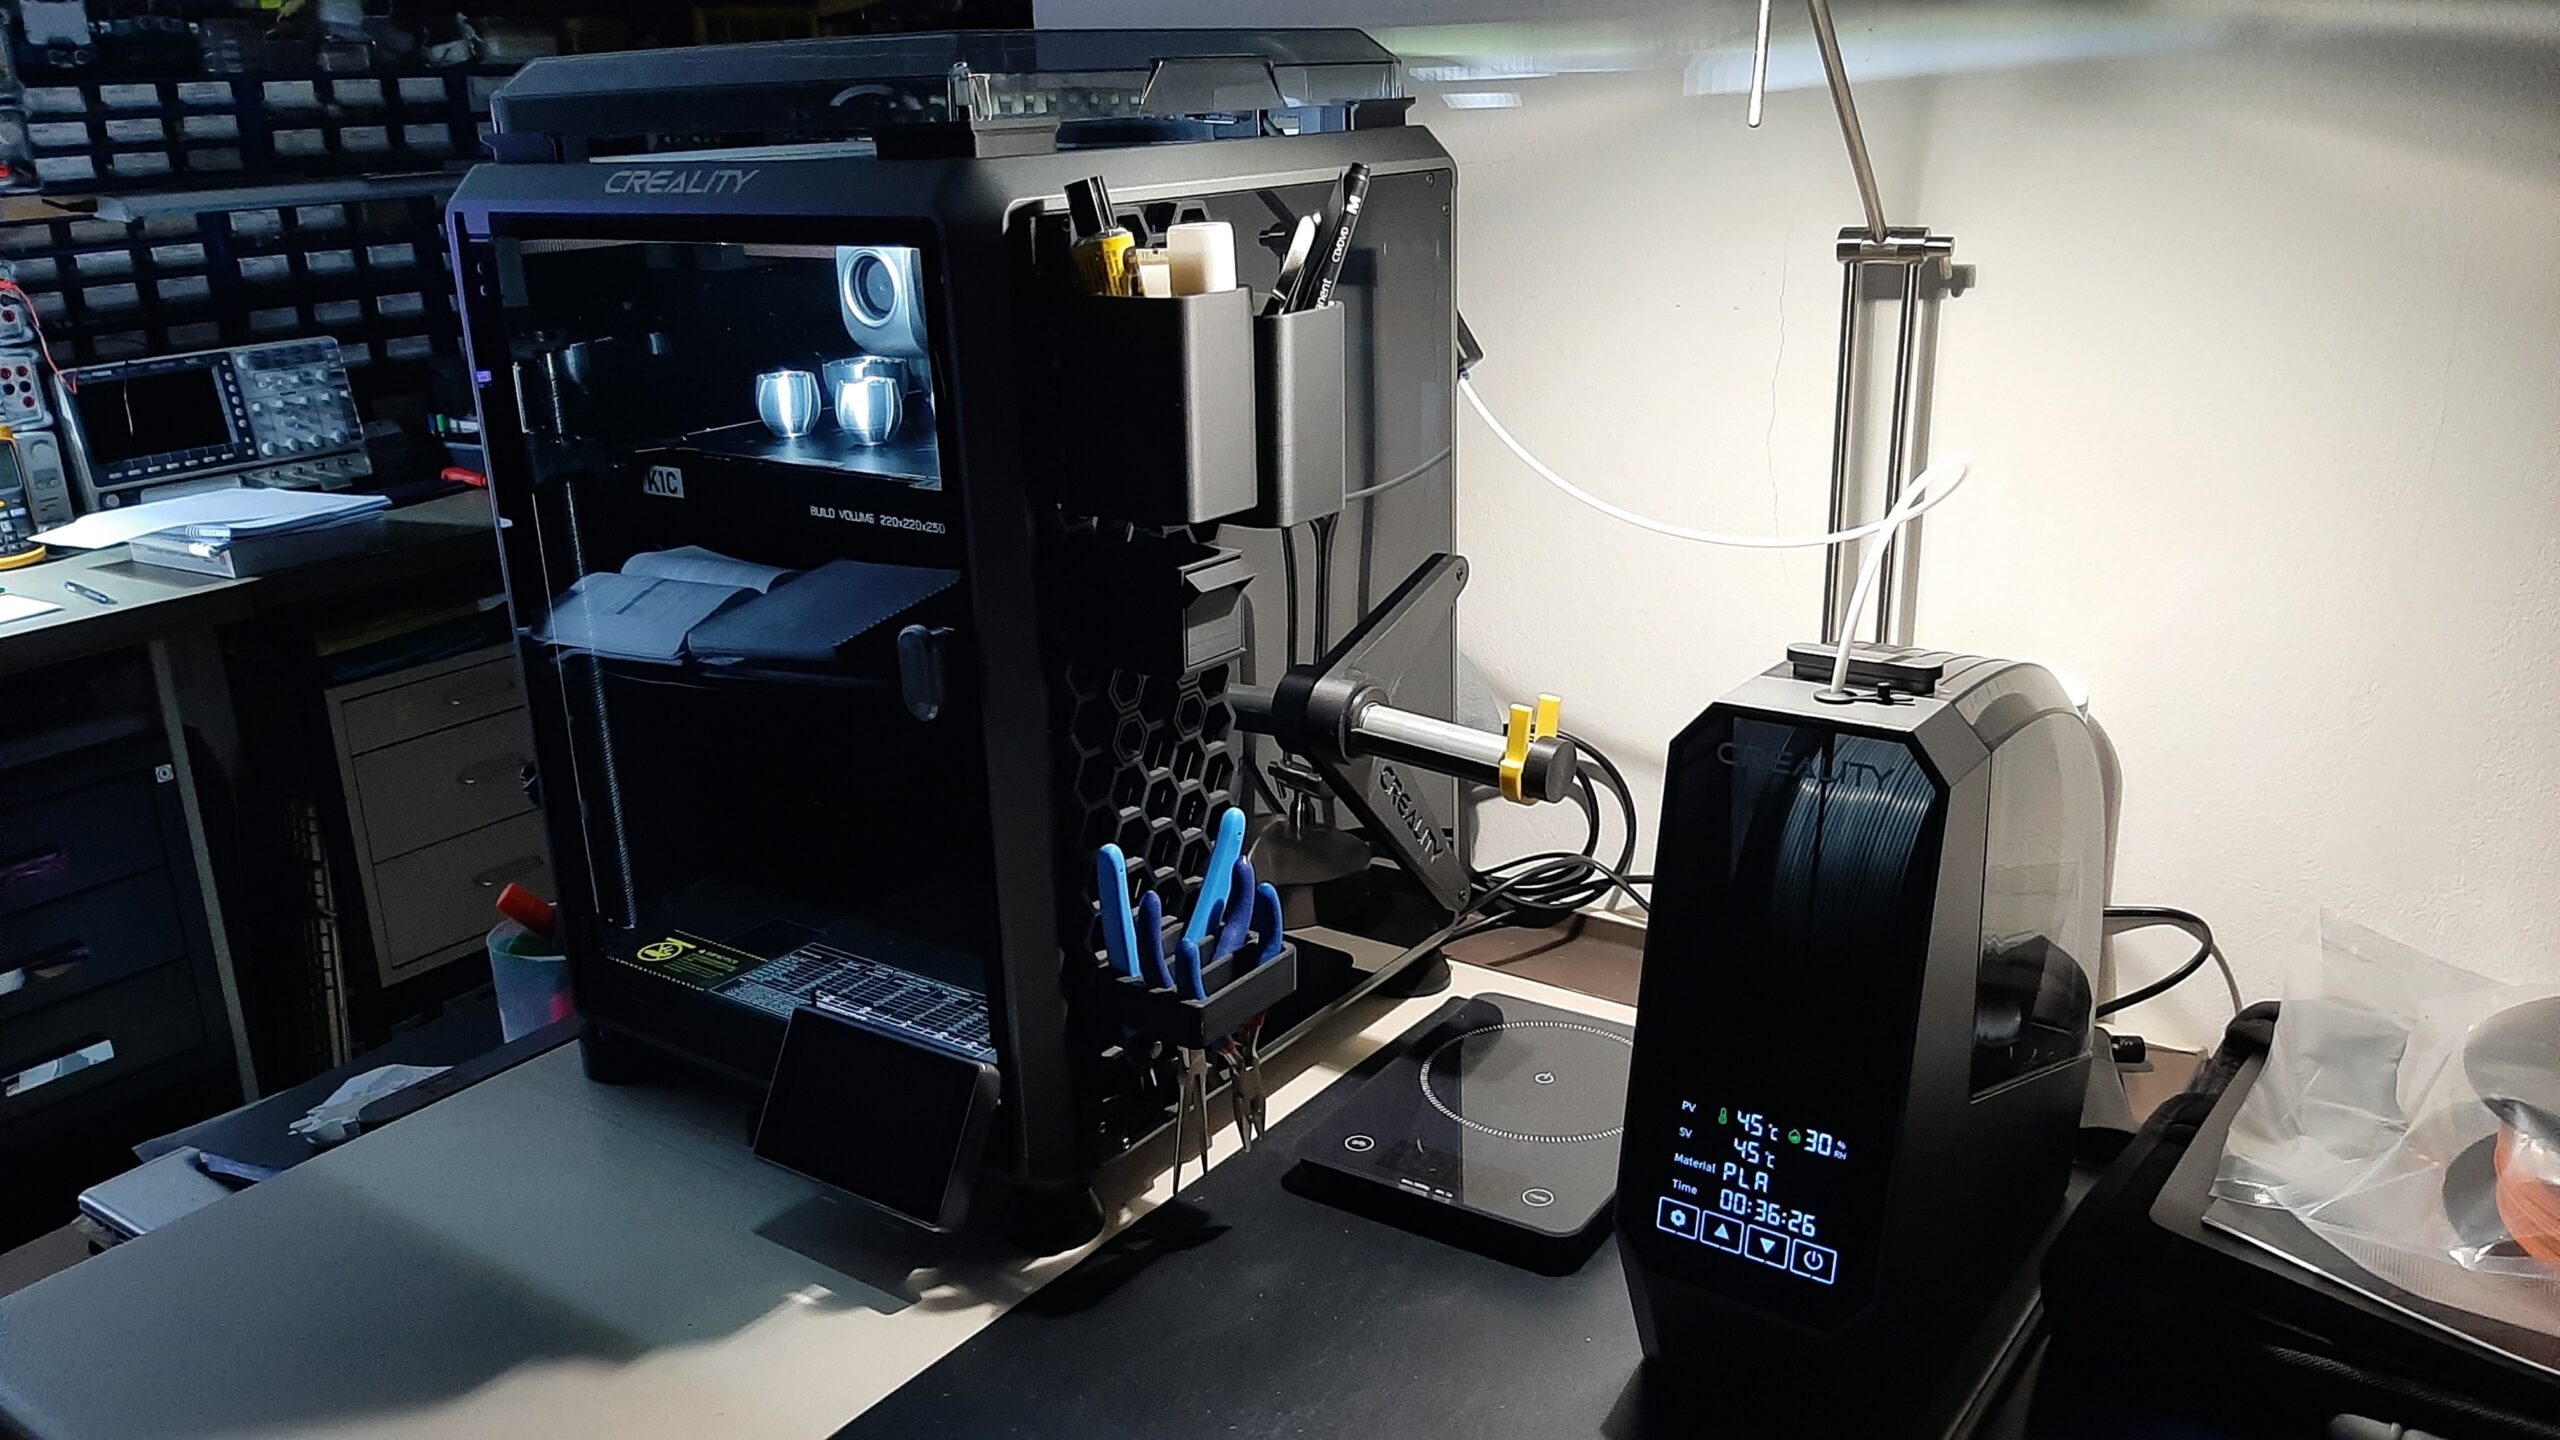
compare closed storage and active drying options only if moisture defects are a real problem. A dryer cannot rescue fundamentally unsuitable materials or poor geometry.
Paid Amazon Associates category search · independent item verification required
Indoor air and printer location matter
Desktop printing is a small manufacturing process. Heated polymers can emit particles and other pollutants, and emissions vary by material and equipment. The US Environmental Protection Agency recommends approaches such as choosing lower-emission materials, reducing unnecessary time next to a running printer, using enclosures and considering local exhaust ventilation.
Putting a printer in a bedroom or close to a child’s play space simply because it fits there is not a good ventilation strategy. Keep the machine in a suitable area with supervised operation, stable power, access to an appropriate outlet and manufacturer-recommended fire precautions. If you add exhaust, discharge and make-up air should be planned for the actual room. A consumer particle monitor or generic purifier is not proof that all ultrafine particles or gases have been removed.
Also remember that safety is not limited to air. Hot ends, heated beds, moving mechanisms, cutters and tool post-processing can injure users. Follow the manufacturer’s instructions and keep children away from moving or hot hardware.
Where 3D printing creates a real microbusiness
There is a potentially attractive niche between selling novelty figurines and pretending to manufacture certified spare parts: custom, low-risk, accurately measured workshop utilities. Examples include labeling fixtures, cable-routing organizers, jigs for repetitive assembly, tool holders, storage dividers and bespoke adapters for nonhazardous hobby use. The customer buys the solved inconvenience, not the number of grams extruded.
A viable service starts by collecting dimensions, intended load, environment and acceptable tolerances; documenting an exclusion list; quoting design time separately from print time; and clearly describing material and usage limitations. Sell reproducible part files or a repeat-order part number when appropriate. Avoid claiming OEM status, copying protected designs without permission or selling a safety-critical substitute. Product liability and intellectual property become important quickly when a hobby turns commercial.
A manufacturing microbusiness should preserve drawing revisions, photos of the delivered part, customer authorization, materials used, QA results and the limits disclosed at sale. This evidence is valuable even if volumes remain tiny. Repeating an individually verified process is a stronger business asset than publishing hundreds of untested downloadable models.
Finishing and ventilated workspace
3D-print deburring and finishing tools

compare guarded deburring edges, replacement blades and safe workholding. Sharp finishing tools still require careful use.
Paid Amazon Associates category search · independent item verification required
3D printer enclosures with ventilation provisions

shop for equipment designed for the printer and a real ventilation plan; don’t assume a fabric tent or enclosed box alone controls emissions or fire risk.
Paid Amazon Associates category search · independent item verification required
Which CAD and printer skills are worth learning first?
Start with 2D sketches, geometric constraints, measurements, extrusions, fillets, holes, wall thickness, clearance, and part orientation. Learn how to export an STL or 3MF model and how a slicer transforms geometry into toolpaths. Learn to identify defects: stringing, warping, poor bed adhesion, layer separation, overhang failures and too-tight fits. CAD competence generally saves more wasted spools than another random printer upgrade.
Two relevant current Udemy courses are Designing for 3D Printing with Fusion 360 for design fundamentals and functional objects, and 3D Printing from Zero to Hero in Blender for print workflow, slicers and troubleshooting. These optional courses cover CAD and printing workflows. Readers should check course prerequisites, updates and present prices.
The decision tree for the first five repairs
Choose five broken or missing household/workshop items. Reject anything that performs a safety-critical function. Rank the remainder by availability of dimensions, complexity, temperature, mechanical stress and replacement price. Design only the easiest low-risk candidate. Print a fit prototype and inspect it after repeated normal use. Track the time and material actually consumed. If the repair is not economical, keep the CAD knowledge and move on. No failure is wasted if it teaches a better material or geometry selection, but that learning should not be misreported as monetary savings.
For home users, the best printer may be no printer at all: a local makerspace, university lab or print-on-demand service can validate occasional ideas without a new hardware commitment. For a repair business, the difference is utilization. Once repeat orders, quality controls and real customer demand justify ownership, the printer becomes part of a tested workflow rather than a speculative purchase.
A reliable 3D-printed replacement begins before pressing Print. First decide whether a part is suitable to manufacture and safe to use.
Skills before shopping
Optional structured courses cover designing, slicing and print troubleshooting. These course links are affiliate links.
Designing for 3D Printing with Fusion 360
Hands-on CAD, slicing, printing and troubleshooting.
3D Printing from Zero to Hero in Blender
Hands-on CAD, slicing, printing and troubleshooting.
Review course prerequisites and current enrollment terms before enrolling.
Research sources
- Research source 1: www.risingtrends.co
- Research source 2: nextbig.io
- Research source 3: help.prusa3d.com
- Research source 4: help.prusa3d.com
- Research source 5: www.epa.gov
Images illustrate equipment categories; check model specifications and safety guidance independently.
Photo credits & licenses
Featured photograph: David Elliott, CC BY 2.0; Editorial photograph, resized for display.
- Card 1: NicolasVenturini, CC BY-SA 4.0. FDM printer making an object, representative printer class, not necessarily enclosed. Resized display copy, no manufacturer/author endorsement.
- Card 2: Lior Streng, CC BY-SA 4.0. Digital caliper used for printable part measurement. Resized display copy, no manufacturer/author endorsement.
- Card 3: Suit, CC BY-SA 4.0. PETG filament packaging, illustrative filament material. Resized display copy, no manufacturer/author endorsement.
- Card 4: Mortymore, CC BY 2.0. Dry box beside FDM printer, illustrative filament moisture-management equipment. Resized display copy, no manufacturer/author endorsement.
- Card 5: Wizard191, CC BY-SA 3.0. Deburring tool for finishing rough printed edges. Resized display copy, no manufacturer/author endorsement.
- Card 6: NIOSH / Stefaniak et al., US government public domain. Covered FDM 3D printers, NIOSH image; covers alone do not ensure ventilation. Resized display copy, no manufacturer/author endorsement.